Introduction
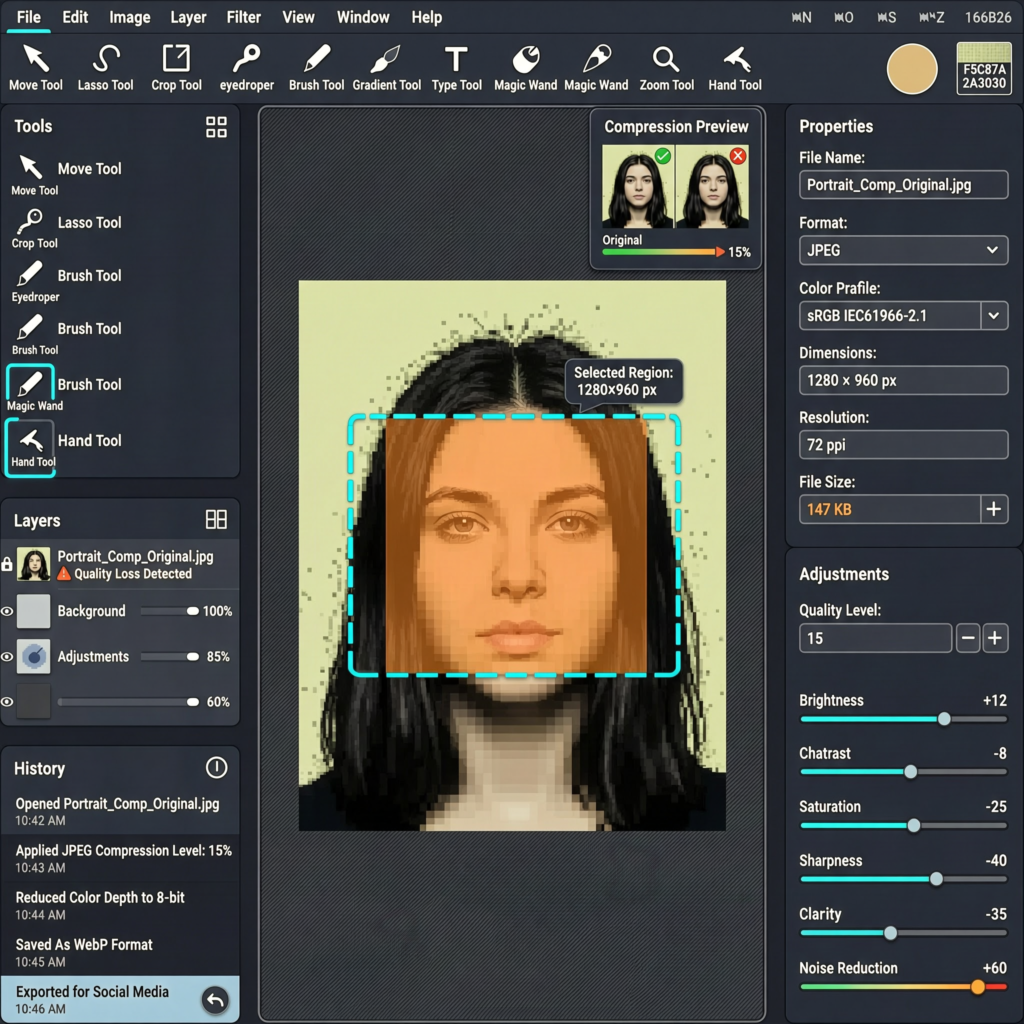
A low quality image maker is exactly what it sounds like: a tool that intentionally reduces a photo’s resolution sharpness or file size. That might sound backwards in a world obsessed with 4K everything but there are real practical reasons people search for this faster website loading smaller email attachments, retro aesthetics, meme culture, or testing how a design performs under poor conditions.
This guide walks through the best free tools for deliberately lowering image quality how to do it step by step and since quality often needs to go both directions how to make high quality images when that’s the actual goal. By the end you’ll know exactly which approach fits your project.
Table of Contents
- Quick Answer / Key Takeaways
- What Is a Low Quality Image Maker?
- Why Would Anyone Want Lower Image Quality?
- Best Free Low Quality Image Maker Tools
- How to Use a Low Quality Image Maker (Step-by-Step)
- How to Make High Quality Images Instead
- Common Mistakes to Avoid
- FAQ
- Conclusion
Quick Answer / Key Takeaways
- A low quality image maker reduces resolution compression quality or sharpness either for smaller file sizes or a deliberate degraded look.
- Common use cases include faster page load times, retro/glitch aesthetics, meme formatting, and file-size limits for email or forms.
- Free browser-based tools can do this in seconds without installing software.
- If your real goal is the opposite sharper cleaner images the process is different and covered later in this guide.
- Always keep an original high-resolution copy before compressing or degrading an image.
What Is a Low Quality Image Maker?
A low quality image maker is any tool web app, plugin, or software feature that lets you reduce an image’s visual fidelity on purpose. This usually happens through one or more of these methods:
- Lowering resolution (reducing pixel dimensions e.g., 4000×3000 down to 800×600)
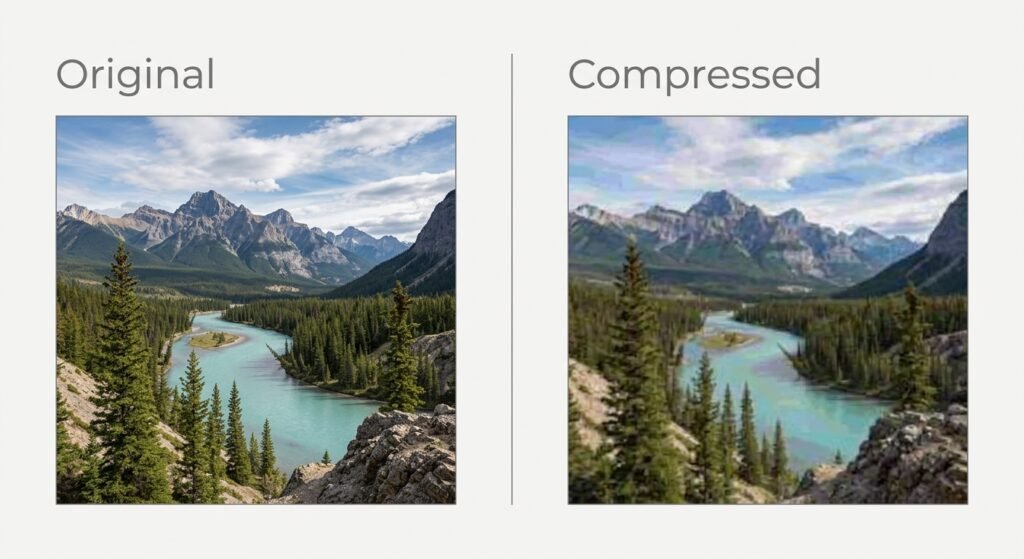
- Increasing compression (higher JPEG compression ratio more visible artifacts)
- Reducing bit depth or color palette (fewer colors banding effects)
- Adding pixelation or blur filters for a stylized low-res look
Unlike a photo editor that focuses on enhancement a low quality image maker focuses on controlled degradation shrinking the file while keeping the image usable for its intended purpose.
Why Would Anyone Want Lower Image Quality?
It’s a fair question. Here are the most common legitimate reasons:
- Web performance: Smaller images load faster which improves Core Web Vitals and user experience.
- Storage and bandwidth limits: Forms email attachments and some CMS platforms cap file size.
- Retro or vaporwave aesthetics: Pixelated low-fidelity visuals are a deliberate creative choice in design and social content.
- Placeholder or draft assets: Designers often use low-res placeholders before final assets are ready.
- Testing and QA: Developers test how apps or sites handle poor-quality or slow-loading images.
Best Free Low Quality Image Maker Tools
Below are widely used free tools that can reduce image quality quickly. None of these require design experience.
| Tool | Best For | Cost |
|---|---|---|
| Squoosh (by Google) | Precise compression control with a live preview | Free |
| TinyPNG / TinyJPG | Fast bulk compression | Free (limits apply) |
| GIMP | Full control over resolution, pixelation, and filters | Free |
| Photopea | Browser-based Photoshop alternative | Free |
| Canva | Quick resizing and export quality settings | Free tier available |
Tip: For batch jobs (multiple images at once) TinyPNG or Squoosh are the fastest options. For creative pixelation effects GIMP or Photopea give more control.
How to Use a Low Quality Image Maker (Step-by-Step)
- Upload your original image to the tool of choice. Always keep a backup of the original file.
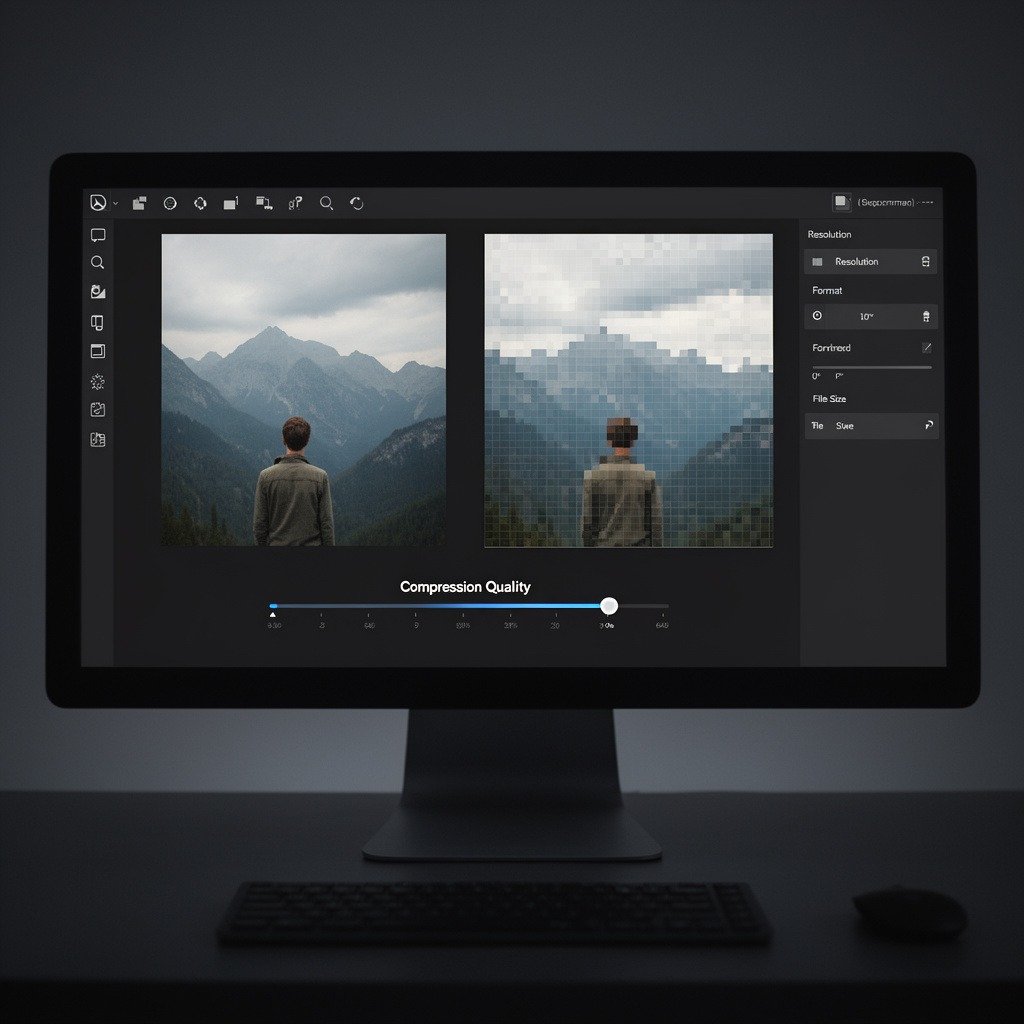
- Choose a compression level or quality percentage. Most tools use a slider (e.g., 100% = original quality, 20% = heavily compressed).
- Adjust resolution if needed. Reduce pixel dimensions for a smaller blurrier result.
- Preview the result. Compare file size versus visible quality loss before exporting.
- Export and download the new lower-quality image.
- Test it in context on your website in an email or wherever it will be used to confirm it meets your size or aesthetic goal.
How to Make High Quality Images Instead
If you landed here needing the opposite result here’s how to make high quality images that look sharp and professional:
- Start with the highest-resolution source available. You can’t add detail that isn’t there.
- Use lossless or minimal compression (PNG or high-quality JPEG/WebP settings).
- Avoid repeated re-saving, which compounds compression artifacts over time.
- Use upscaling tools carefully. AI upscalers can improve resolution, but results vary depending on the original image.
- Match the export format to the use case WebP for web speed without major quality loss, PNG for graphics with transparency, JPEG for photos.
For background-specific edits, image retouching, and export at full resolution a purpose-built platform like BGimageSnap simplifies this without needing separate compression and enhancement tools.
Common Mistakes to Avoid
- Overwriting the original file. Once compressed heavily quality can’t be fully restored.
- Compressing too aggressively for the use case. A blog thumbnail can handle more compression than a print-ready photo.
- Ignoring format differences. PNG and JPEG compress very differently; using the wrong one wastes file size or quality.
- Skipping a final preview before publishing or sending the image.
FAQ
1. What does a low quality image maker actually change in a file? It typically reduces pixel resolution increases compression or lowers color depth all of which shrink file size at the cost of visual detail.
2. Is lowering image quality the same as reducing file size? Not always. File size can also be reduced without visible quality loss using efficient formats like WebP or lossless compression.
3. Can I undo image compression later? No. Once detail is compressed away it can’t be fully recovered. Always keep the original file.
4. What’s the best format for small file size with decent quality? WebP generally offers smaller file sizes than JPEG or PNG at similar visual quality making it popular for web use.
5. Why would a business want a low quality image maker? Mainly for speed smaller images improve page load times which affects both user experience and search rankings.
6. Do these tools work on mobile? Most browser-based tools like Squoosh and TinyPNG work on mobile browsers though desktop offers more precise control.
7. How do I make high quality images if I only have a low-res source? Use an AI upscaling tool as a starting point but expect limitations no tool can perfectly reconstruct detail that was never captured.
Conclusion
Whether you need a low quality image maker for faster load times a stylized aesthetic or file-size limits the tools and steps above cover the most common scenarios. And if your actual goal is the reverse producing sharp high quality images the same principles of resolution compression and format choice apply just in the opposite direction.
Ready to edit or optimize your images the easy way? Try BGimageSnap for fast no-fuss image editing and export.