
Introduction
If a website marketplace or app has ever rejected your photo for being the wrong dimensions you’ve likely run into the 500×500 image size requirement. This square format is one of the most common upload standards on the web used for profile pictures, product thumbnails, app icons and social media avatars and getting it wrong usually means a blurry, stretched, or cropped result.
This guide explains exactly what a 500×500 image size is where it’s required and how to resize any photo to it correctly without losing quality or distorting the subject. You’ll also learn the difference between resizing and cropping common mistakes to avoid and a free step-by-step method you can use right now.
Table of Contents
- Quick Answer
- What Does 500×500 Image Size Mean?
- Where Is a 500×500 Image Size Required?
- Resizing vs. Cropping: What’s the Difference?
- How to Resize an Image to 500×500 Pixels (Step-by-Step)
- Common Mistakes When Resizing to 500×500
- Tips for Keeping Image Quality Sharp
- Visual Opportunities
- FAQ
- Conclusion
Quick Answer / Key Takeaways
- A 500×500 image size means an image that is exactly 500 pixels wide and 500 pixels tall a perfect square.
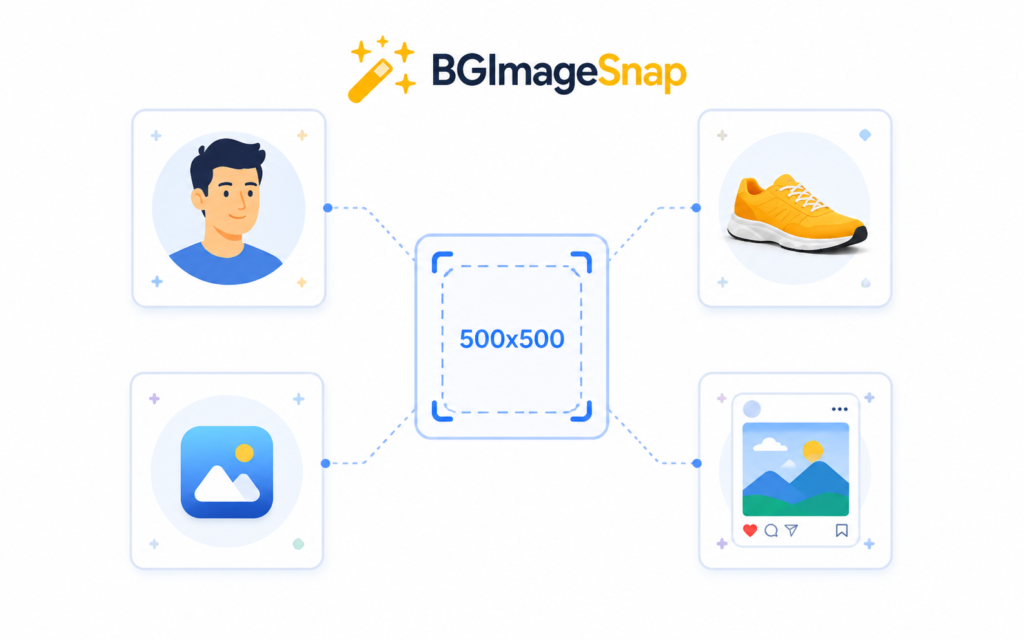
- It’s commonly required for profile photos, product images, app icons and marketplace listings eBay, Etsy, Shopify, etc.
- The safest way to resize is to crop to a square first then scale to 500×500, rather than stretching a rectangular photo directly.
- Free browser based tools can do this in seconds without installing software.
What Does 500×500 Image Size Mean?
A 500×500 image size refers to an image’s pixel dimensions 500 pixels across and 500 pixels down. Because both numbers are equal the image is a square regardless of the file format (JPG, PNG, or WebP).
This differs from resolution or file size. Two images can both be 500×500 pixels but have very different file sizes (in KB or MB) depending on compression. When a platform asks for a 500×500 image it is almost always referring to pixel dimensions not file weight.
Where Is a 500×500 Image Size Required?
Many platforms specify square image formats close to or exactly at 500×500 pixels including:
- E-commerce product photos Shopify, Etsy, and Amazon listings often recommend square thumbnails for consistent grid layouts.
- Profile and avatar pictures many apps and forums request square uploads that get automatically cropped if the wrong shape is submitted.
- App icons and favicons square dimensions are the standard starting point before platform-specific resizing.
- Social media profile photos most platforms display profile images as circles or squares cropped from a square source.
Because requirements vary slightly by platform it’s worth checking the exact specification before uploading but resizing to a clean 500×500 image size is a safe baseline for most square image requirements.
Resizing vs. Cropping: What’s the Difference?
These two actions are often confused but they do different jobs:
- Resizing changes the pixel dimensions of the whole image scaling everything down or up proportionally.
- Cropping removes parts of the image to change its shape without necessarily changing the remaining resolution.
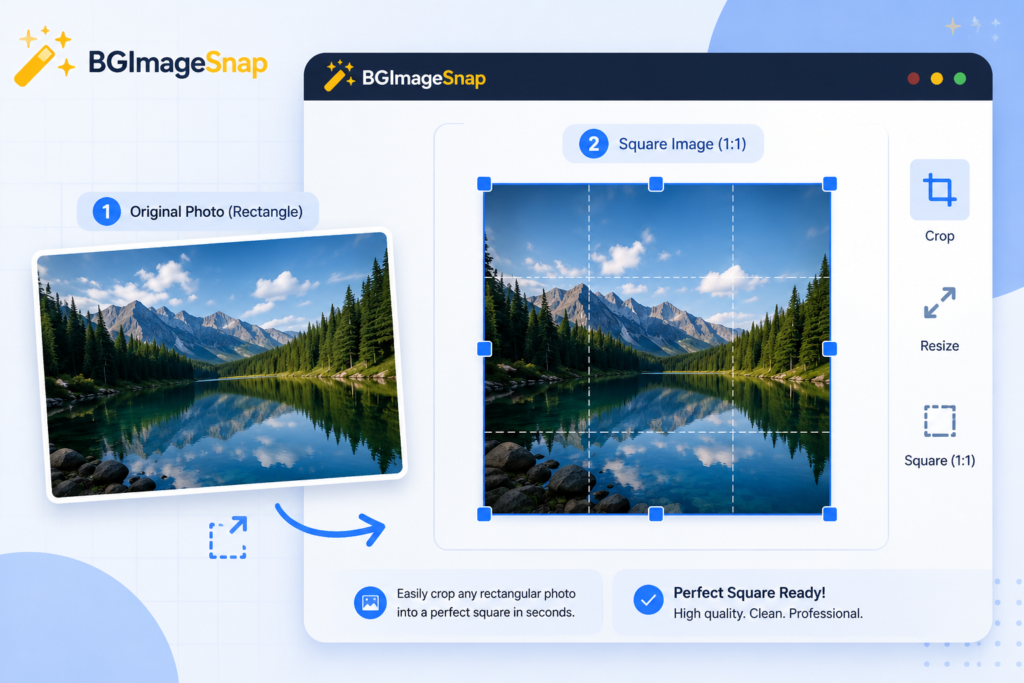
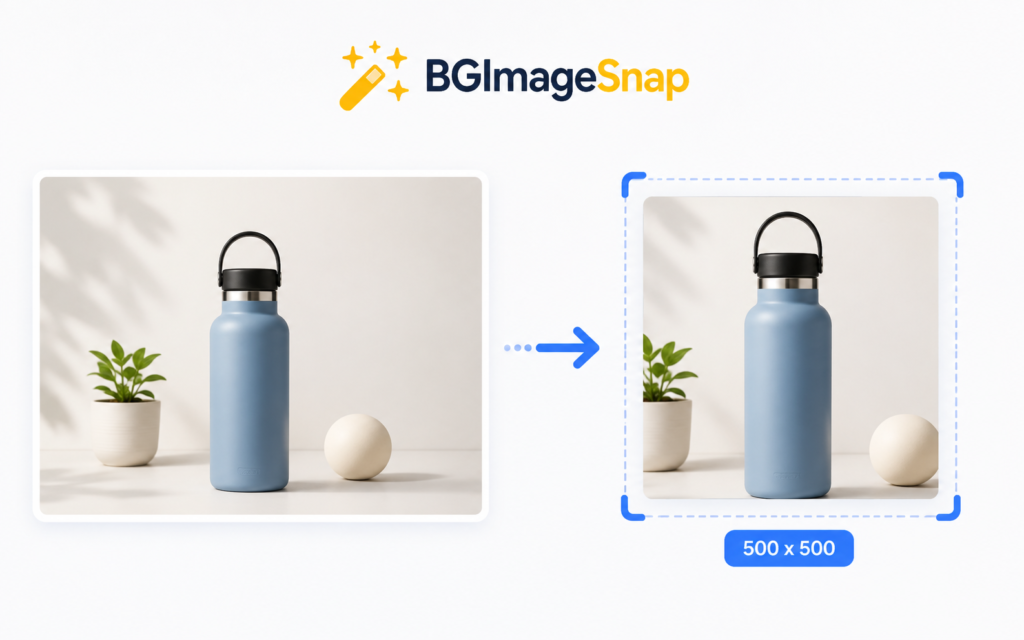
If your original photo isn’t already square resizing it directly to 500×500 will stretch or squash the image distorting faces, logos, or products. The correct approach for a clean 500×500 image size is:
- Crop the image to a 1:1 (square) aspect ratio first keeping the important subject centered.
- Resize the cropped square to exactly 500×500 pixels.
This two step process preserves proportions and avoids the “stretched photo” look.
How to Resize an Image to 500×500 Pixels (Step-by-Step)
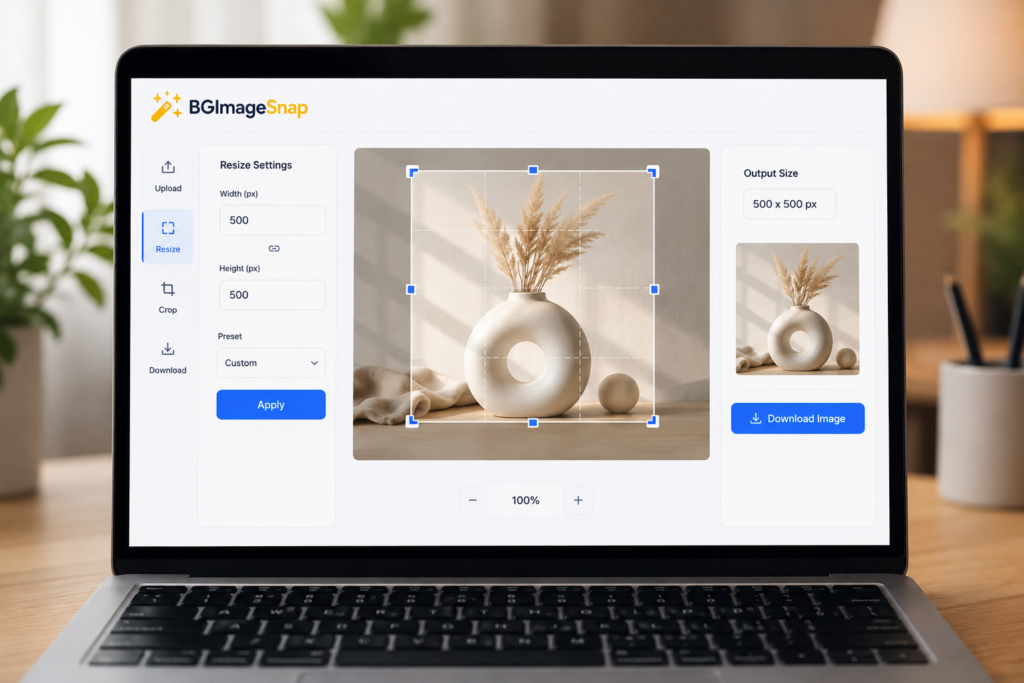
- Upload your image to a resizing tool such as BGImageSnap’s free image resizer which works directly in the browser.
- Crop to a square if your photo isn’t already 1:1 centering the subject you want to keep.
- Set the output dimensions to 500 pixels wide by 500 pixels tall.
- Choose your file format JPG for photos PNG for images needing transparency.
- Download the resized file and check that it displays correctly at 500×500 before uploading it to your platform.
This process works the same whether you’re preparing one image or several batch resizing tools can apply the same 500×500 image size to multiple files at once.
Common Mistakes When Resizing to 500×500
- Stretching a rectangular photo directly to 500×500 instead of cropping first which distorts the subject.
- Ignoring the background especially for product photos where a busy or uneven background looks worse once cropped tightly.
- Over compressing the file which can make a 500×500 image size look blurry or pixelated even though the dimensions are correct.
- Not checking the platform’s actual requirement some sites want 500×500 exactly while others accept a minimum size and crop automatically.
Tips for Keeping Image Quality Sharp
- Start with a source image that’s equal to or larger than 500×500 pixels; enlarging a small image will reduce sharpness.
- Keep the subject centered before cropping since square crops remove the sides or top/bottom of a rectangular photo.
- Use PNG format if the image needs a transparent background (common for logos and product cutouts).
- Preview the final 500×500 version at actual size before publishing since small distortions are easier to spot at full scale.
Visual Opportunities
- Before/after diagram: a rectangular photo next to its correctly cropped and resized 500×500 version.
- Comparison table: platforms and their typical square image requirements (for editorial reference verified against each platform’s current guidelines before publishing).
- Step screenshots: the upload, crop, and resize steps within the tool interface.
| Anchor Text | Suggested Page/URL | Why It Should Be Linked |
|---|---|---|
| free image resizer | bgimagesnap.com/resizer | Directly supports the how to steps with the actual tool readers need |
| background remover | bgimagesnap.com/background-remover | Useful follow up step for product photos before resizing to 500×500 |
| passport photo maker | bgimagesnap.com/passport-photo | Related square/fixed dimension image use case readers may also need |
| image compressor | bgimagesnap.com/compressor | Helps readers reduce file size after resizing without losing the 500×500 dimensions |
FAQs
Is 500×500 pixels a good image size for a website?
Yes for square format uses like thumbnails avatars and product grids 500×500 image size is a solid balance between visual clarity and file weight on most modern displays.
Will resizing to 500×500 reduce my image quality?
Reducing a larger image down to 500×500 pixels generally preserves quality well. Enlarging a smaller image up to 500×500 is more likely to introduce blurriness.
What file format should I use for a 500×500 image?
Use JPG for photographs where small file size matters and PNG when you need a transparent background such as for logos or product cutouts.
Can I resize multiple images to 500×500 at once?
Yes many free online tools support batch resizing letting you apply the same 500×500 image size to a whole folder of photos at once.
Do I need design software to resize an image to 500×500?
No. Free browser based resizers can crop and resize images to 500×500 pixels without installing any software.
Is 500×500 the same as a “square image”?
500×500 is one specific square size. Any image where width and height are equal is square but not every square image measures exactly 500×500 pixels.
Conclusion
A 500×500 image size is one of the most widely used square formats across e-commerce social platforms and app stores and getting it right is mostly about avoiding one mistake: resizing a rectangular photo directly instead of cropping it to a square first. Following the crop then resize approach above will give you a clean undistorted 500×500 image ready for upload on almost any platform.
Remove Shadow → click here
How to Improve Image Quality → click here
MP4 to PNG → click here




[…] How to Resize an Image to 500×500 […]