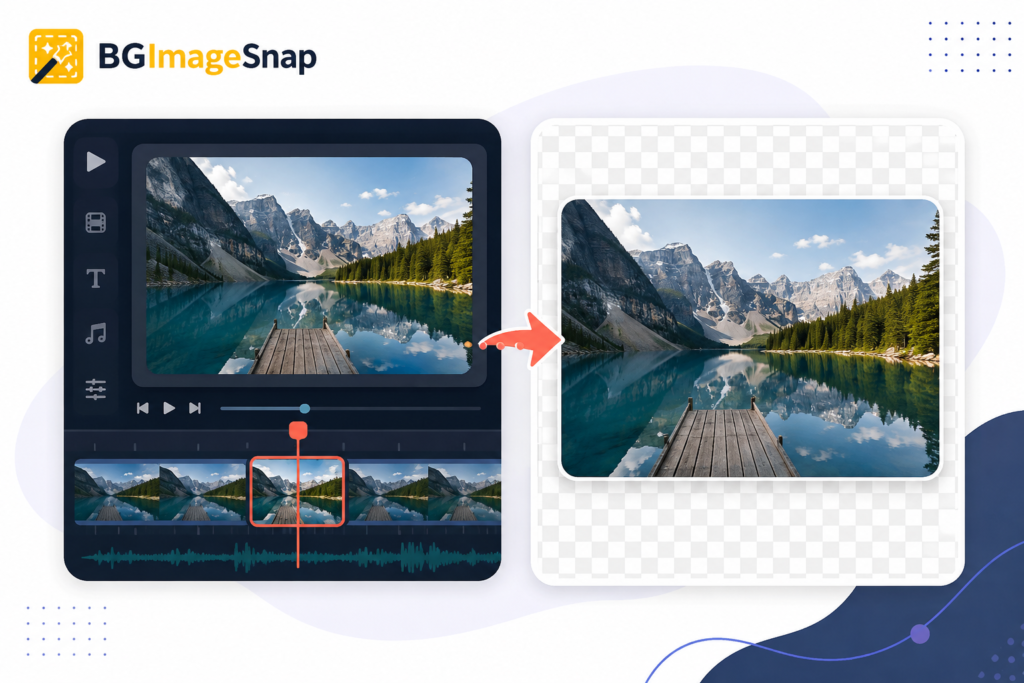
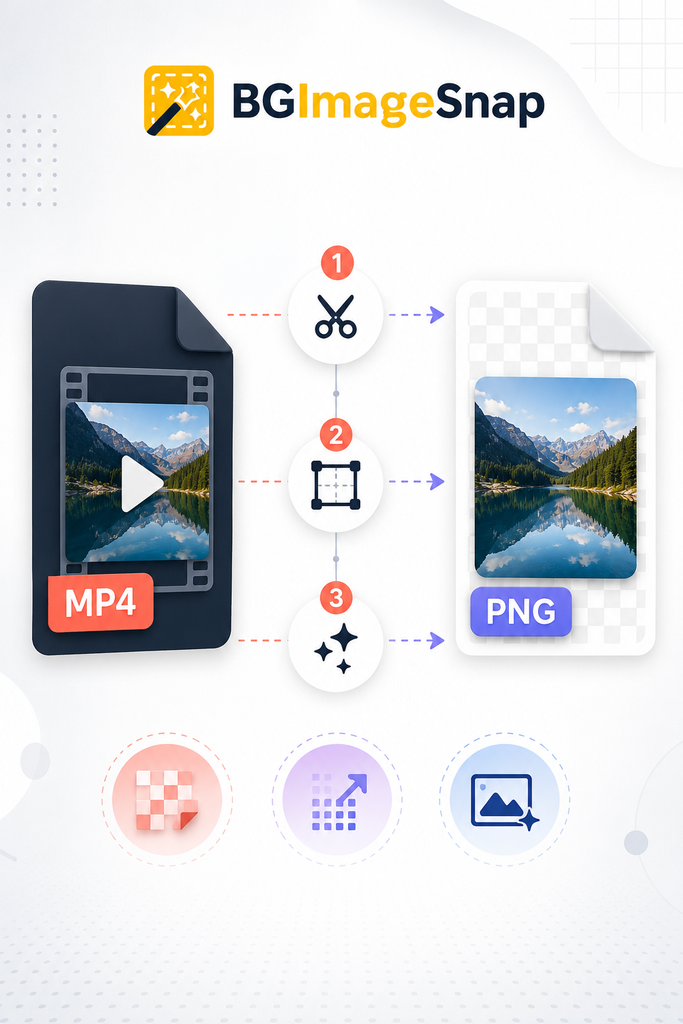
MP4 to PNG means extracting a still image from a video file. Instead of keeping motion you capture a specific second and save it as a lossless PNG.
- Best for: Web backgrounds thumbnails graphic overlays and print assets.
- Key benefit: PNG supports transparency and sharp edges unlike JPEG.
- Time required: Seconds for one frame; minutes for bulk extraction.
- Cost: Most reliable tools are free.
If you already know your frame timestamp skip ahead to the step by step section. If you need to compare methods first review the comparison table below.
MP4 to PNG: What It Actually Means
MP4 is a digital container format that holds video streams, audio tracks, subtitles and metadata. PNG is a raster image format that uses lossless compression and supports alpha channel transparency.
When you perform an MP4 to PNG conversion you are not “changing” the video format. You are pulling a still image from the video stream at a precise timecode. This matters for designers: a 4K MP4 might contain a perfect frame at 00:00:08 but if you export at 1080p or apply heavy compression the PNG will not recover lost detail.
For teams in the USA, UK, and CA working on background image projects the critical rule is simple: start with the highest source resolution then export the PNG at the exact pixel dimensions your layout requires.
The Difference Between Video and Frame Formats
| Feature | MP4 (Video) | PNG (Image) |
|---|---|---|
| Contains motion | Yes | No |
| Transparency support | No (in final frame unless alpha source) | Yes |
| Best for backgrounds | Only after frame extraction | Direct use |
| File size | Large | Moderate (lossless) |
| Color profile | Often Rec. 709 | Usually sRGB for web |
5 Ultimate Best Methods to Convert MP4 to PNG
Not every tool fits every workflow. Here is a direct comparison of the most effective methods for MP4 to PNG tasks.
| Method | Best For | Quality | Speed | Cost |
|---|---|---|---|---|
| Desktop Editor (Premiere / DaVinci) | Color correction + crop | High | Medium | Paid / Free tier |
| Frame Grab Software | Precise timestamp picks | High | Fast | Free / Paid |
| FFmpeg Command Line | Bulk / automated | High | Very fast | Free |
| Online MP4 to PNG Converter | One off quick tasks | Medium | Fast | Free / Premium |
| Mobile Apps | Social / quick references | Medium | Fast | Free / Paid |
Method 1: Desktop Video Editors (Adobe Premiere Pro, DaVinci Resolve)
Import the MP4 scrub to the exact frame and export a still. Choose PNG as the format and set resolution to match your source. This is the best path when you need color grading or framing adjustments before extraction.
Method 2: Dedicated Frame Grab Tools
VLC offers a snapshot feature; LosslessCut allows frame accurate cutting without a timeline. These are excellent for quick MP4 to PNG tasks when you do not need full editing power.
Method 3: FFmpeg (Command Line)
FFmpeg is the open source standard for video processing. It extracts frames without loading a visual timeline making it ideal for bulk tasks or automated workflows.
Method 4: Browser Based Online Converters
Platforms like CloudConvert or Online Convert accept an MP4 upload and return PNG files. They work well for single frame needs but review privacy policies before uploading proprietary footage.
Method 5: Mobile Apps
Apps such as Video to Photo (iOS) or FrameGrab (Android) allow quick exports from your camera roll. Use these for rapid reference shots rather than high precision design work.
Step-by-Step: How to Convert MP4 to PNG Using FFmpeg
If you want precise repeatable results follow this process.
Step 1: Download FFmpeg from the official repository and install it on your system.
Step 2: Open a terminal or command prompt and navigate to the folder containing your video.
Step 3: Extract a single frame at a specific timestamp.
textffmpeg -ss 00:00:05 -i input.mp4 -vframes 1 output.pngThis command grabs the frame at 5 seconds.
Step 4: Verify the output file dimensions. If your source is 1920×1080 your PNG should match unless you specify a scale.
Step 5: Open the PNG in an image editor to confirm transparency. If your original video does not include an alpha channel transparency will not appear automatically.
This method delivers identical results across USA, UK, and CA operating environments because it relies on command line processing rather than localized software licenses.
Quality Tips for Background Images
When you convert video frames into PNG images for web backgrounds protect the asset quality with these practices:
- Match pixel dimensions to layout. A full width hero banner may need 1920 px or 2560 px width; do not export small and upscale.
- Preserve transparency. Choose PNG (not JPEG) if the frame includes logos cutouts or overlay ready elements.
- Check color profiles. Many MP4 files use Rec. 709. Export your PNG in sRGB if it will live on the web.
- Avoid double compression. Export once at high quality then scale down for thumbnails rather than re exporting from a compressed file.
If you are sourcing backgrounds for a site like bgimagesnap.com consider whether your extracted frame needs retouching before it becomes a final background asset.
Common MP4 to PNG Mistakes to Avoid
Mistake 1: Exporting as JPEG by accident. You lose transparency and introduce compression artifacts.
Mistake 2: Choosing a low resolution source. A PNG cannot invent detail that was never in the original video.
Mistake 3: Selecting the wrong timestamp. One second can mean the difference between a sharp face and a motion blur.
Mistake 4: Over compressing the PNG. Use lossless or near lossless settings for graphics; only compress if file size is a critical bottleneck.
MP4 to PNG vs. Other Image Formats
PNG is not the only option but it is usually correct for design work.
| Format | Transparency | Lossless | Best Use After MP4 to PNG |
|---|---|---|---|
| PNG | Yes | Yes | Web backgrounds logos graphics |
| JPEG | No | No | Photographs where file size is critical |
| GIF | Yes (1-bit) | Yes | Simple animations not high quality frames |
| TIFF | Yes | Yes | Print workflows requiring print ready data |
For most MP4 to PNG workflows PNG strikes the best balance between clarity and versatility.
Frequently Asked Questions
What does MP4 to PNG mean?
It means extracting a still frame from an MP4 video file and saving it as a PNG image.
How do I convert MP4 to PNG without losing quality?
Start with a high-resolution source use a lossless export setting and avoid recompressing the PNG afterward.
Can I convert MP4 to PNG online for free?
Yes. Many online converters support this but check file-size limits and privacy terms before uploading.
Is PNG better than JPG for video frames?
For backgrounds and graphics yes. PNG supports transparency and preserves sharp edges; JPG does not.
How do I pick the best frame from a video?
Scrub slowly avoid motion blur and select frames with clean negative space or clear focal points.
What is the best MP4 to PNG tool for professionals?
FFmpeg for speed and bulk work; Adobe Premiere or DaVinci Resolve for color-controlled extractions.
Does MP4 to PNG support transparency?
The PNG format supports transparency but the source frame must contain it—such as via a green-screen or alpha-channel source.
How long does MP4 to PNG conversion take?
A single frame takes seconds. Bulk extraction depends on video length and your hardware.
Conclusion
Mastering MP4 to PNG conversion gives you a direct pipeline from video source to polished graphic. Whether you use a desktop editor for color precision or FFmpeg for rapid extraction the rules remain constant: respect the source resolution export at the correct size and choose PNG when transparency and clarity matter.
If you need high quality PNG background images to pair with your extracted frames browse our curated collection at bgimagesnap.com. From web hero backgrounds to print ready assets we provide the visual foundation your next project needs.