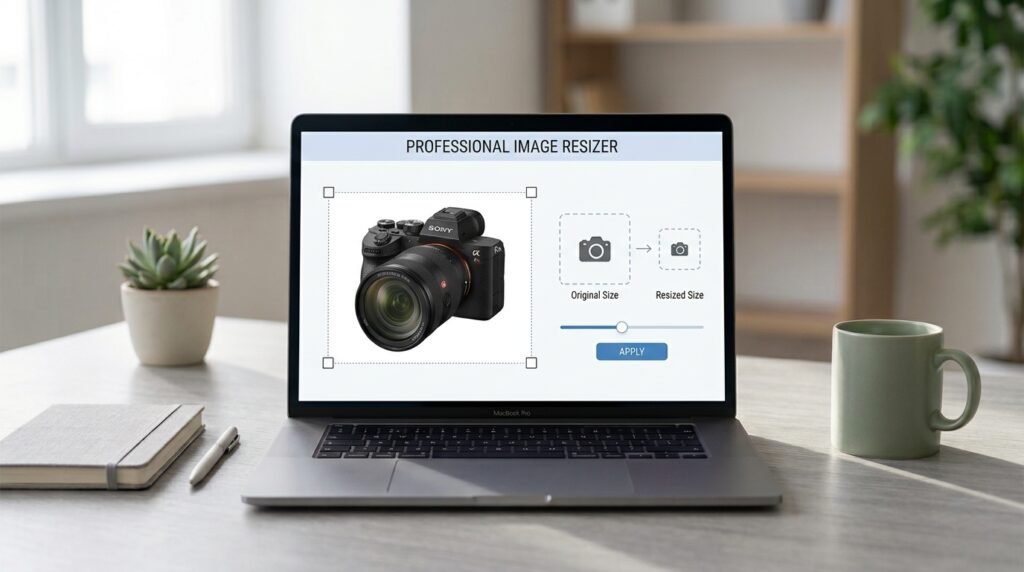
Resize image without losing quality online free is exactly what most people search for after a photo comes out too large for a website too small for printing or the wrong dimensions for a marketplace listing. The frustration is always the same: you shrink or stretch the picture and suddenly it looks soft blocky, or washed out.
The good news is that you can resize image without losing quality online free using browser-based tools no Photoshop no subscription and no design experience needed. This beginner-friendly guide explains why quality loss happens which free tools avoid it and the exact steps to follow.
Table of Contents
- Understanding Why Resizing Damages Image Quality
- How to Resize Image Without Losing Quality Online Free
- Best Free Online Tools for Resizing Images
- Choosing the Right Dimensions Before You Start
- How AI Upscaling Helps When Enlarging Photos
- Common Mistakes That Ruin Image Quality
- Resizing Product Photos for E-commerce
- Quick Tips for Sharper Results
- FAQs
- Conclusion
Understanding Why Resizing Damages Image Quality
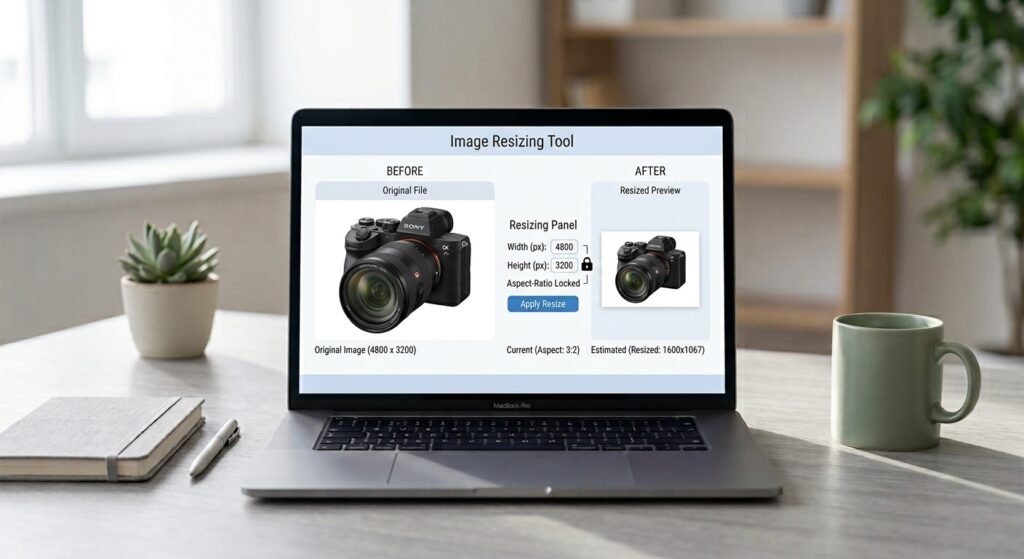
Every photo is a grid of tiny colored squares called pixels. When you change an image’s dimensions software has to add or remove pixels and how it does that determines whether your photo stays sharp.
Downscaling (making an image smaller) is usually safe. The tool merges existing pixels so detail is preserved and file size drops.
Upscaling (making an image bigger) is where problems appear. There is no extra detail hiding in the file so the software has to invent new pixels. Basic tools guess by copying nearby colors which creates blur and soft edges.
A second cause of quality loss is re-compression. Every time a JPG is saved again a little detail is discarded permanently. Resize once, save once that habit alone solves most quality complaints.
How to Resize Image Without Losing Quality Online Free
The general process is nearly identical across most free web tools. Here is the workflow that gives the best results:
- Start with the original file. Never resize a version that has already been compressed cropped or screenshotted.
- Open a trusted online resizer in your browser.
- Upload your image by dragging it into the upload area.
- Enter your target dimensions in pixels width height or a percentage.
- Keep “maintain aspect ratio” or “lock proportions” enabled. This is the single most important setting.
- Choose the output format. PNG for graphics and transparency JPG for photographs.
- Preview the result at full size before downloading.
- Download and check the image on the device or platform where it will actually appear.
Following these steps you can resize image without losing quality online free in under a minute per photo.
Best Free Online Tools for Resizing Images
Several browser-based tools handle resizing well without requiring payment or installation.
| Tool | Best For | Batch Support | Notes |
|---|---|---|---|
| ILoveIMG | Everyday resizing | Yes | Simple interface, resize by pixels or percentage |
| Squoosh (by Google) | Quality control | No | Live side-by-side preview, advanced resize methods |
| Photopea | Full editing control | No | Free browser-based editor similar to Photoshop |
| BGImageSnap | Product & e-commerce images | Needs verification | Resizing alongside background cleanup |
Squoosh deserves a special mention for beginners who care about quality. It shows the original and resized version side by side with a slider so you can see exactly what changes before downloading. It also lets you pick the resampling method Lanczos3 generally produces the sharpest results for photos.
Google’s Squoosh app https://squoosh.app
ILoveIMG resize tool https://www.iloveimg.com/
Choosing the Right Dimensions Before You Start
Half of all quality problems come from picking the wrong target size. Resize once to the correct dimensions instead of guessing and redoing it.
Common reference points:
- Website hero images: typically 1920 px wide
- Blog featured images: commonly 1200 × 675 px
- Social profile pictures: usually square 400 × 400 px or larger
- Email attachments: aim to keep files under a few megabytes
Marketplace requirements vary by platform. Amazon, Etsy, Shopify, and eBay each publish their own image specifications, and these change over time. Always check the current guidelines on the platform’s official seller documentation rather than relying on numbers from a blog post.
Practical tip: Resize to the largest size you will actually display not larger. A 4000 px image squeezed into a 600 px slot wastes bandwidth and slows your page without looking any better.
How AI Upscaling Helps When Enlarging Photos
If you genuinely need a bigger image than your original traditional resizing will disappoint you. This is where AI upscaling comes in.
In simple terms: an AI upscaler has been trained on huge numbers of image pairs small versions and their sharp full-size counterparts. From that training it learns what realistic detail looks like: how skin texture behaves how fabric weaves how edges should stay crisp. When you feed it a small photo it predicts believable new detail instead of just blurring existing pixels outward.
What AI upscaling does well:
- Recovering usable detail from moderately small photos
- Keeping edges and text legible when enlarging
- Reducing the soft mushy look of traditional enlargement
What it cannot do:
- Restore detail that was never captured
- Fix a heavily blurred or badly out-of-focus photo
- Guarantee accuracy AI invents detail which matters for product photos where accuracy is a legal and trust issue
Beginner rule of thumb: upscaling roughly 2× usually looks convincing. Pushing to 4× or beyond often produces plastic-looking textures and strange artifacts.
Several free browser-based AI upscalers exist though free tiers usually limit resolution or the number of images per day.
Common Mistakes That Ruin Image Quality
Avoiding these five errors will fix most quality problems on its own.
Unlocking the aspect ratio. Entering both a width and a height that do not match the original proportions stretches or squashes the image. Set one dimension and let the tool calculate the other.
Resizing the same file repeatedly. Each save-and-resize cycle on a JPG destroys a little more detail. Always go back to the original and resize once.
Saving photos as PNG unnecessarily. PNG is lossless but for photographs it creates enormous files with no visible benefit. Use JPG for photos, PNG for logos, icons, and anything with transparency.
Enlarging a small image with a basic resizer. A 300 px image stretched to 1500 px will look soft no matter which free tool you use. Use AI upscaling or re-shoot the photo.
Skipping the preview. Always view the result at 100% zoom. Thumbnails hide blur artifacts and edge problems.
Resizing Product Photos for E-commerce
Product images have stricter demands than casual photos. Marketplaces expect consistent dimensions clean backgrounds and sharp detail and shoppers judge quality within seconds.
A reliable order of operations:
- Edit first crop, adjust brightness, correct color.
- Remove or replace the background to get a clean white or transparent backdrop.
- Resize last to the exact dimensions the platform requires.
- Compress only if the file is still too large after resizing.
Doing background removal before resizing matters because background tools work more accurately with more pixels to analyze. Resize at the end and you keep the cleanest possible edges.
If your catalog needs consistent white or transparent backgrounds alongside correct sizing BGImageSnap handles background removal in the browser so your product shots come out uniform and listing-ready. BGImageSnap background remover tool.
Related guides you may find useful:
- BGImageSnap article on creating white backgrounds for product photos
- BGImageSnap article on compressing images without quality loss.
Quick Tips for Sharper Results
- Keep a master copy. Store your originals in a separate folder and only ever work on duplicates.
- Resize in one step. Going 4000 px → 2000 px → 1000 px loses more detail than going straight to 1000 px.
- Apply light sharpening after downscaling. Shrinking softens edges slightly; a small sharpening pass restores crispness.
- Match dimensions to the display slot. Serving a 3000 px image into a 400 px container helps nobody.
- Batch similar images together. If you have twenty product shots at the same size use a tool with batch support to keep them perfectly consistent.
- Test on mobile. Most traffic is mobile and quality issues often show differently on small high-density screens.
FAQs
Can I really resize image without losing quality online free?
Yes when shrinking an image. Downscaling with a good tool preserves detail almost perfectly. Enlarging is different it always involves some quality trade-off unless you use AI upscaling.
Which free online tool gives the sharpest results?
Squoosh is excellent because it shows a live before-and-after comparison and lets you choose the resampling method. For quick everyday resizing ILoveIMG is simpler and supports batches.
Does resizing reduce file size?
Making an image smaller in pixel dimensions almost always reduces file size significantly. If you need to shrink the file further without changing dimensions use compression instead.
Should I use JPG or PNG after resizing?
Use JPG for photographs smaller files no visible difference. Use PNG for logos, screenshots, line art, or anything requiring a transparent background.
Is it safe to upload photos to free online resizers?
Reputable tools are fine for ordinary images. Squoosh processes files locally in your browser which is the safest option. For confidential or client-sensitive photos use offline software instead.
How do I resize an image to exact pixel dimensions without stretching it?
Crop the image to the correct aspect ratio first then resize. Trying to force mismatched dimensions in one step is what causes distortion.
Can I resize several images at once for free?
Yes. Tools like ILoveIMG support batch uploads which is the fastest way to make a full product catalog consistent.
Why does my resized image still look blurry?
The three usual causes are enlarging beyond what the original supports resizing an already-compressed copy or a browser displaying the image at a size different from its actual dimensions.
Conclusion
You can absolutely resize image without losing quality online free the key is understanding that shrinking is safe enlarging needs AI help and every extra save cycle costs you detail. Start from the original file lock the aspect ratio resize once to the correct dimensions and preview at full size before you download.
For product photos remember the order: edit remove the background, resize, then compress. If your images also need clean white or transparent backgrounds try the BGImageSnap background remover to get consistent listing-ready results or browse our other image-editing guides for your next step.