Introduction
You took a screenshot on your Mac. It captured everything the browser, the menu bar, even that notification you didn’t mean to include. Now you need just a clean part of it. Maybe for a report, a social post, or an email. But you don’t know how to crop it. You open Photoshop. You download an app. You search online. You find ten different methods some complicated, some paid, some outdated.
You just want to crop a screenshot on Mac simply, quickly, for free. This guide gives you five real, working methods all built into macOS or using free tools. No installs. No subscriptions. No confusion. Whether you’re a student, a remote worker, or a designer, you’ll find the right way to crop your screenshot and do it in under 30 seconds.
Table of Contents
Quick Answer: How to Crop a Screenshot on Mac
Short answer:
You can crop a screenshot on Mac in seconds using the built in Markup tool after taking the screenshot, or by opening it in Preview. No software needed.
Key Takeaways:
Press Shift + Command + 5 to take and crop in one step
Use the Markup tool tap the screenshot thumbnail, then drag to crop
Open in Preview click Tools > Crop and drag the edges
Online tools like BGImageSnap work if you need to crop after saving
Avoid third party apps macOS has everything you need built in
Pro Tip: The fastest way? Take the screenshot, then click the thumbnail that appears in the corner. Use the crop tool that pops up.
Why Crop a Screenshot?
Screenshots often capture more than you need.
You might have:
- A browser window with ads and toolbars
- A menu bar with time and battery icons
- A notification that covers part of the text
- A full screen when you only need one section
Cropping removes the clutter. It makes your image:
- Cleaner and more professional
- Smaller in file size
- Easier to share or upload
- Focused on what matters
You don’t need to send a full screen image to show a button, an error message, or a form field. Just crop it.
5 Ways to Crop a Screenshot on Mac
Here are the five most effective methods ranked by speed and ease.
| Method | Best For | Time Needed | Requires App? |
|---|---|---|---|
| 1. Markup Tool (After Screenshot) | Most users fastest and easiest | 10 seconds | No |
| 2. Preview App | Users who edit often | 20 seconds | No (built-in) |
| 3. Screenshot Tool (Shift + Command + 5) | Users who want to crop before taking | 15 seconds | No |
| 4. Online Tool (BGImageSnap) | Users on other devices or need batch editing | 30 seconds | No (web-based) |
| 5. Free Apps (e.g., Skitch, Pixlr) | Advanced users needing filters | 1–2 minutes | Yes |
✅ Top Pick for Most People: Use the Markup Tool. It’s built in, free, and requires no steps beyond taking the screenshot.
How to Crop a Screenshot Using Preview
Preview is the default image viewer on Mac. It’s powerful and simple.
Step 1: Open the Screenshot
Find your screenshot in the Desktop or Downloads folder. Double click it to open in Preview.
Step 2: Click Tools > Crop
In the top menu, click Tools, then select Crop. A border will appear around the image.
Step 3: Drag to Select Area
Click and drag the corners or edges to select the part you want to keep.
Step 4: Press Return or Click Crop
The rest of the image disappears. Your cropped version is now active.
Step 5: Save
Click File > Save to replace the original, or File > Save As to keep both.
Tip: Use the Zoom tool (magnifying glass) to see details while cropping.
How to Crop a Screenshot Using Markup (Built in Tool)
This is the fastest and most popular method on macOS.
Step 1: Take a Screenshot
Press Shift + Command + 4. Your cursor turns into a crosshair. Drag to select the area you want to capture.
(Or press Shift + Command + 5, then select “Capture Selected Portion”)
Step 2: Click the Thumbnail
After capturing, a small thumbnail appears in the bottom right corner of your screen. Click it.
Step 3: Use the Crop Tool
A toolbar appears. Click the Crop icon (a square with arrows). Drag the corners to select your area.
Step 4: Click Done
The cropped image replaces the original. The original is deleted.
This method crops as you take the screenshot. No extra steps. No app needed.
How to Crop a Screenshot Using the Screenshot Tool
macOS has a built in screenshot tool that lets you crop before you capture.
Step 1: Press Shift + Command + 5
The screenshot toolbar appears at the bottom of your screen.
Step 2: Click “Options”
Choose where to save the file Desktop, Documents, etc.
Step 3: Click “Capture Selected Portion”
The cursor becomes a crosshair.
Step 4: Drag to Select Area
Click and drag to select only the part you want.
You’ll see a live preview of the selected area.
Step 5: Release the Mouse
The screenshot is taken and saved already cropped.
This method skips editing entirely. Perfect for users who know exactly what they need.
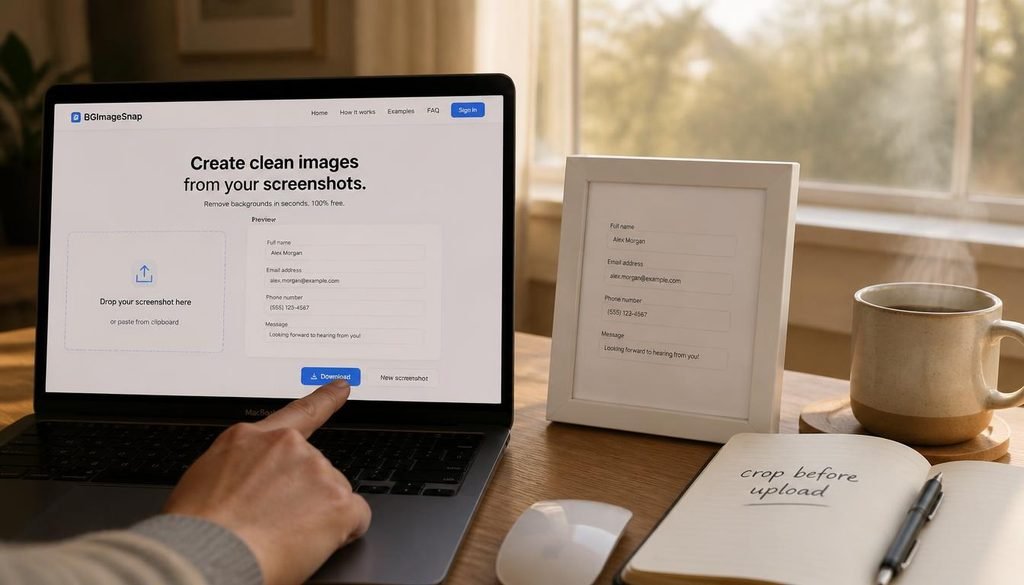
How to Crop a Screenshot Online with BGImageSnap
If you’re on a Windows PC, iPhone, or just want to edit on the go, use a free online tool.
Step 1: Go to https://bgimagesnap.com/
No signup. No login.
Step 2: Upload Your Screenshot
Drag and drop your PNG or JPG file.
Step 3: Crop the Image
Click and drag to select the area you want to keep. Adjust the box with handles.
Step 4: Download
Click “Download.” Your cropped image saves to your device.
Works on any device with a browser. Great for editing screenshots taken on iPhone or Android.
How to Crop a Screenshot Using Free Apps
If you need more than cropping like adding arrows, text, or blur try these free apps:
| App | Best For | Notes |
|---|---|---|
| Skitch (by Evernote) | Adding notes and highlights | Free, simple, great for teams |
| Pixlr | Advanced editing | Browser based, no install |
| Photopea | Photoshop like tools | Free, works in browser |
These are useful if you’re doing more than just cropping. But for simple edits, stick with Preview or Markup.
Common Mistakes When Cropping Screenshots
Mistake #1: Cropping Too Tight
You cut off part of a button or text. Always leave a small margin.
Mistake #2: Using Low Resolution
If you stretch a cropped image, it gets blurry. Always crop at full size.
Mistake #3: Saving as JPG When You Need Transparency
If your screenshot has a transparent area (like a rounded window), save as PNG. JPG adds a white background.
Mistake #4: Forgetting to Save After Cropping
Preview and Markup don’t auto save. Always click “Save” or “Done.”
Mistake #5: Using a Third Party App When You Don’t Need One
Most Mac users install apps like Snagit or CleanShot but they don’t need them. The built in tools are faster.
FAQ: Your Top Questions Answered
1. How do I crop a screenshot on Mac without downloading anything?
Use the Markup tool. Take the screenshot, click the thumbnail, then tap Crop.
2. Can I crop a screenshot after I’ve already saved it?
Yes. Open it in Preview or upload it to BGImageSnap.
3. Why is my cropped image blurry?
It was taken at low resolution or stretched after cropping. Always crop before resizing.
4. What’s the best format to save a cropped screenshot?
Use PNG for screenshots with text, buttons, or transparency. Use JPG only for photos.
5. Can I crop multiple screenshots at once?
Not with built-in tools. Use BGImageSnap or batch tools like Preview in list view.
6. Does cropping reduce file size?
Yes. Removing pixels makes the file smaller — helpful for emails and websites.
7. Why can’t I see the crop tool?
You might be using an older version of macOS. Update to macOS Monterey or later.
8. Can I crop a screenshot on an older Mac?
Yes. Use Preview. It works on all recent Macs.
Conclusion: Crop Faster, Work Smarter
You don’t need expensive software. You don’t need to learn complex tools.
You don’t even need to open a new app. Your Mac already has everything you need to crop a screenshot — fast, clean, and free.
The best method?
Use the Markup tool after taking the screenshot. It takes 10 seconds.
Or use Shift + Command + 5 to crop before you capture.
Either way, you save time. You make better looking images. You look more professional.