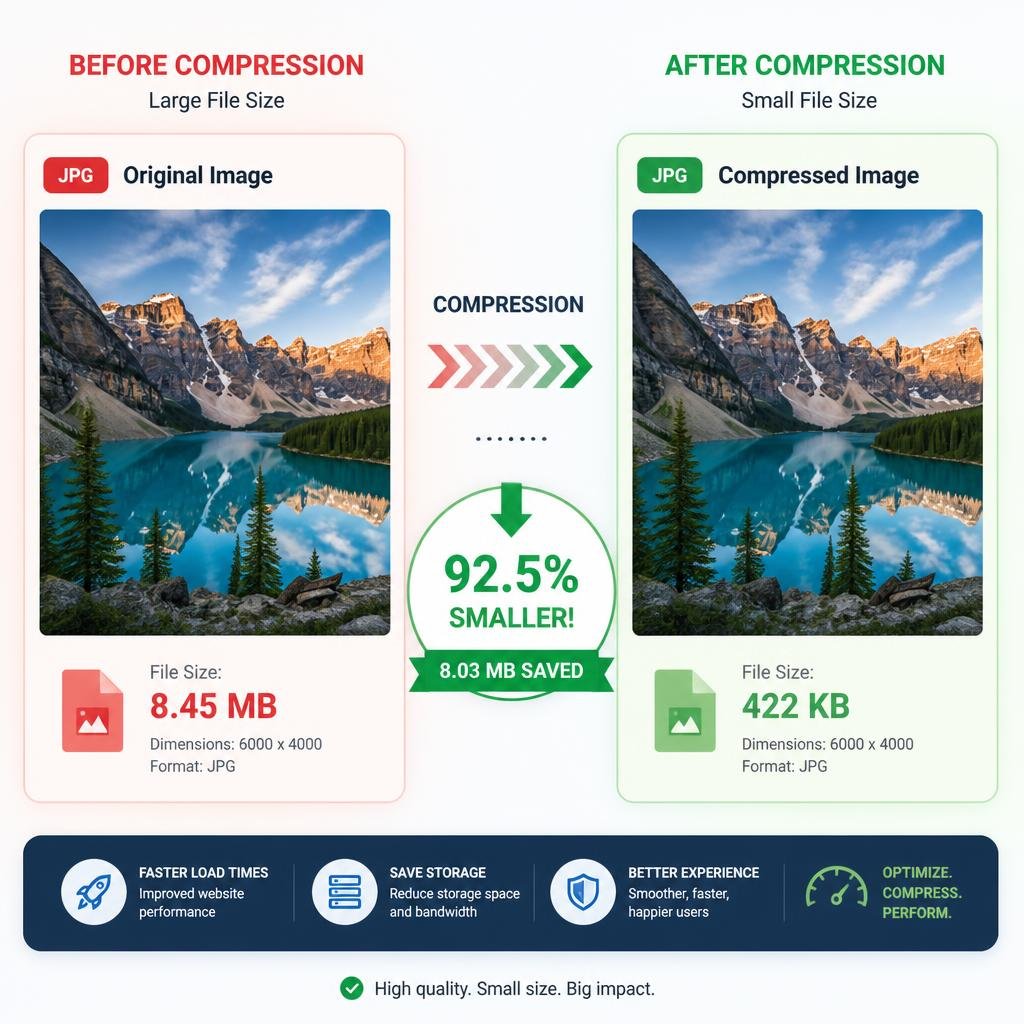
Large image files slow down websites, eat up storage, and frustrate users. The TinyPNG Image Compressor: How to Compress Images Without Losing Quality is the ultimate guide to solving this common problem. TinyPNG uses smart lossy compression techniques to shrink your PNG and JPEG files dramatically often by 50–70% while keeping visual quality nearly identical to the original.
Key Takeaways
- TinyPNG reduces file sizes by up to 70% using intelligent lossy compression without visible quality loss.
- It supports PNG, JPEG, and WebP formats through both its web interface and API.
- Free accounts allow 20 images per session (up to 5MB each), while paid plans unlock bulk uploads and API access.
- You can integrate TinyPNG into WordPress, Shopify, Photoshop, and developer workflows using plugins and SDKs.
- Regular image compression improves page speed, SEO rankings, and user experience across all devices.
What It Does and How It Works
TinyPNG is a browser-based and API-powered image compression tool trusted by millions of users worldwide. But how does it actually reduce file sizes so effectively?
The secret lies in selective reduction. When you upload an image, TinyPNG analyzes every pixel and identifies areas where similar colors exist. It then reduces the number of colors in those areas a process that is invisible to the human eye. Think of it like organizing a messy closet: you keep everything that matters but remove the unnecessary duplicates.
Unlike basic compression tools that strip metadata and call it a day, TinyPNG goes further. It carefully re-encodes the image data using smart algorithms that preserve sharpness, transparency, and overall visual integrity. The result is a file that looks virtually identical but loads significantly faster.
For developers, the TinyPNG API integrates directly into build pipelines, content management systems, and mobile apps. This means compression happens automatically no manual uploads required. Whether you run a blog, an e-commerce store, or a SaaS platform, TinyPNG fits seamlessly into your existing workflow.
Full List of Supported Formats, Features, and Plans
Understanding what TinyPNG offers helps you decide if it is the right tool for your needs. Here is a detailed breakdown:
Supported Formats:
- PNG (with full alpha transparency support)
- JPEG / JPG
- WebP (via API and paid plans)
Key Features:
- Smart lossy compression reduces colors intelligently while maintaining visual fidelity
- Batch uploads compress up to 20 images simultaneously on the free plan
- Drag-and-drop interface no technical skills required
- API access for developers who want automated compression in their workflows
- WordPress and Shopify plugins compress images directly from your CMS
- Adobe Photoshop plugin compress during export without leaving Photoshop
- Preserves transparency PNG alpha channels remain fully intact
- No watermark or branding on compressed files
Pricing Plans:
| Plan | Price | Upload Limit | File Size Limit | API Calls/Month |
|---|---|---|---|---|
| Free | $0 | 20 images/session | 5MB per file | N/A |
| Pro | $25/year | Unlimited | 25MB per file | 500 calls/month |
| Developer | $100+/year | Unlimited | 25MB per file | Custom |
Each compressed image comes with a clear comparison showing the original file size, compressed size, and percentage saved. This transparency makes it easy to track your optimization results over time.
How to Use TinyPNG Image Compressor Step by Step
Compressing images with TinyPNG takes less than a minute. Follow these simple steps:
Step 1: Visit the TinyPNG Website
Go to tinypng.com in any modern browser. You will see a clean, panda-themed upload area on the homepage.
Step 2: Upload Your Images
Drag and drop up to 20 PNG, JPEG, or WebP files onto the upload area. Alternatively, click the upload zone to browse your computer and select files manually.
Step 3: Wait for Compression
TinyPNG processes each image automatically. You will see a progress indicator for each file. Most images compress within 5–15 seconds depending on file size.
Step 4: Download Your Compressed Images
Once compression is complete, click the “Download” button next to each image. If you uploaded multiple files, click “Download All” to get a convenient ZIP archive.
Step 5: Compare and Verify
Open the compressed image alongside the original. Check critical details like text sharpness, color accuracy, and transparency. You will notice the file size is significantly smaller with virtually no visible difference.
For repeat or high-volume use, consider installing the TinyPNG WordPress plugin or setting up the API key for automated compression in your development environment.
Real Use Cases: Who Uses TinyPNG and Why
TinyPNG serves a wide range of users. Here are some practical examples:
1. Bloggers and Content Creators
Bloggers who upload dozens of images per post use TinyPNG to keep page load times fast. A travel blogger, for instance, might have 15 high-resolution photos in a single article. Compressing those images can reduce total page weight from 20MB to under 5MB, dramatically improving reader experience and SEO performance.
2. E-Commerce Sellers
Online sellers on Shopify, Etsy, or Amazon need crisp product images that load quickly. TinyPNG helps them maintain professional-quality photos while ensuring their storefront pages load in under three seconds a critical threshold for conversion rates.
3. Freelance Web Designers and Developers
Freelancers delivering client websites use TinyPNG as part of their standard optimization workflow. Compressed assets reduce hosting bandwidth costs, improve Core Web Vitals scores, and ensure clients are satisfied with site performance from day one.
4. Students and Educators
Students building portfolios or submitting digital assignments often struggle with file size limits on submission portals. TinyPNG lets them shrink image-heavy PDFs or presentation files quickly without sacrificing the clarity of charts, diagrams, or screenshots.
Practical Tips for Getting the Best Results
These tips will help you maximize the benefits of the TinyPNG Image Compressor: How to Compress Images Without Losing Quality approach:
- Compress before uploading to your CMS. Never rely solely on your platform’s built-in compression. Pre-compressing with TinyPNG ensures the smallest possible file from the start.
- Use WebP format when possible. WebP files are 25–35% smaller than equivalent PNG or JPEG files. Convert your images to WebP after compressing them through TinyPNG for maximum savings.
- Audit your existing media library. Install the TinyPNG WordPress plugin and run a bulk compression on all previously uploaded images. Many sites have hundreds of unoptimized images sitting in their media library.
- Set a maximum resolution. Do not upload 6000×4000 pixel images when your website only displays them at 1200×800. Resize first, then compress for the best results.
- Keep original files as backups. Always store your uncompressed originals in a separate folder or cloud drive in case you need to edit or recompress them later with improved settings.
Frequently Asked Questions
Is TinyPNG really free?
Yes. TinyPNG offers a free plan that allows you to compress up to 20 images per session, with a maximum file size of 5MB each. For larger volumes and API access, paid plans start at $25 per year.
Does TinyPNG reduce image quality?
TinyPNG uses smart lossy compression, meaning it selectively reduces data that the human eye cannot perceive. In blind tests, most users cannot distinguish a TinyPNG-compressed image from the original.
Can TinyPNG handle transparent PNG files?
Absolutely. TinyPNG fully preserves PNG alpha transparency. This makes it ideal for logos, icons, and overlay graphics that require transparent backgrounds.
Is there a TinyPNG plugin for WordPress?
Yes. The official “Compress JPEG & PNG images” plugin by TinyPNG integrates directly into your WordPress dashboard. It automatically compresses images on upload and can bulk-optimize your entire media library.
How does TinyPNG compare to other compression tools?
TinyPNG consistently delivers among the best compression ratios with the least visible quality loss. Compared to tools like ImageOptim or Squoosh, it offers a more polished user experience and broader platform integrations.
Conclusion
The TinyPNG Image Compressor remains one of the most trusted and effective tools for reducing image file sizes without sacrificing visual quality. Whether you are a blogger optimizing for SEO, a seller improving storefront speed, or a developer streamlining a build pipeline, TinyPNG delivers measurable results in seconds.
Ready to speed up your website and save storage space? Head over to tinypng.com and compress your first batch of images for free today.