Introduction
White square formats are essential for modern digital design. Whether you are trying to fit a rectangular photo into an Instagram grid or creating a minimalist border for a printed picture getting the dimensions right is critical. Many creators struggle with cropped images and distorted aspect ratios when uploading to social platforms.
If you need to format your photos correctly adding a white square border is the most effective solution. This guide will show you exactly what this format is why it matters, and how to create one in seconds. You will learn the best tools for the job and how to avoid common editing mistakes. By the end of this article you will know how to make a white square image that looks professional on any device.
Table of Contents
Quick Answer: What Is a White Square Image?
A white square image refers to a digital file with a 1:1 aspect ratio where the background or border is pure white. This format is primarily used to prevent social media platforms from cropping rectangular photos. By placing a vertical or horizontal image onto a white square canvas you preserve the entire original picture while meeting the strict dimension requirements of platforms like Instagram.
What Is a White Square in Digital Design?
In digital imaging a white square is a foundational layout tool. It represents a canvas where the width and height are exactly equal, typically measured at 1080 by 1080 pixels for high definition web use.
When designers talk about this format they are usually referring to one of two things:
- A blank canvas: A completely empty white image file used as a background layer.
- A bordered frame: A rectangular photo placed in the center of a white square canvas creating white borders on the top and bottom or the left and right sides.
This format mimics the classic Polaroid aesthetic. It provides visual breathing room around the main subject drawing the viewer’s eye directly to the center without the distraction of edge to edge clutter.
[Middle Image Placeholder]
Alt Text: Diagram showing how a rectangular photo fits inside a white square canvas to maintain its original aspect ratio
Why You Need a White Square Border for Social Media
Social media algorithms and interfaces are built around specific aspect ratios. When you upload a vertical portrait or a wide landscape photo to a standard grid the platform will automatically crop the edges to force it into a 1:1 ratio.
Adding a white square border solves this problem entirely. Here is why creators rely on this method:
- Prevents Unwanted Cropping: You keep the entire original composition intact. No heads are cut off and no wide landscapes are zoomed in awkwardly.
- Creates a Cohesive Grid: When multiple images have the same outer dimensions your profile grid looks organized and professional.
- Enhances Visual Focus: The white negative space acts as a frame separating your art or photography from the busy interface of the app.
- Standardizes Printing: If you plan to print your photos a 1:1 ratio with white borders makes it easier to fit images into standard square frames or photo albums.
How to Make a White Square Background Online
You do not need expensive software to format your photos. You can easily make a white square background using free web based tools. Follow this simple process to prepare your images.
Step 1: Choose Your Canvas Size
Determine the final resolution you need. For most social media platforms 1080 by 1080 pixels is the standard. For high quality printing, you may want to set the canvas to 3000 by 3000 pixels.
Step 2: Upload Your Original Photo
Select the rectangular image you want to format. Ensure the file is high resolution so it does not look blurry when placed on the new canvas.
Step 3: Center the Image
Place your photo in the exact middle of the canvas. If your photo is vertical you will see white borders on the left and right. If it is horizontal the white borders will appear on the top and bottom.
Step 4: Adjust the Background Color
Ensure the background layer is set to pure white. The exact hex color code for pure white is #FFFFFF.
Step 5: Export the File
Save your new image as a high quality JPG or PNG. Your file is now perfectly formatted for upload.
5 Tools to Create a White Square Image Fast
Choosing the right software saves time and ensures high quality results. Here are the five best tools to create a white square image.
| Tool | Best For | Cost | Learning Curve |
|---|---|---|---|
| BGImageSnap | Quick online resizing and background adjustments | Free | Very Easy |
| Canva | Social media managers needing templates | Freemium | Easy |
| Adobe Photoshop | Professional photographers requiring precise control | Paid | Steep |
| Apple Preview | Mac users needing a built in offline solution | Free | Moderate |
| Microsoft Paint | Windows users needing basic offline editing | Free | Easy |
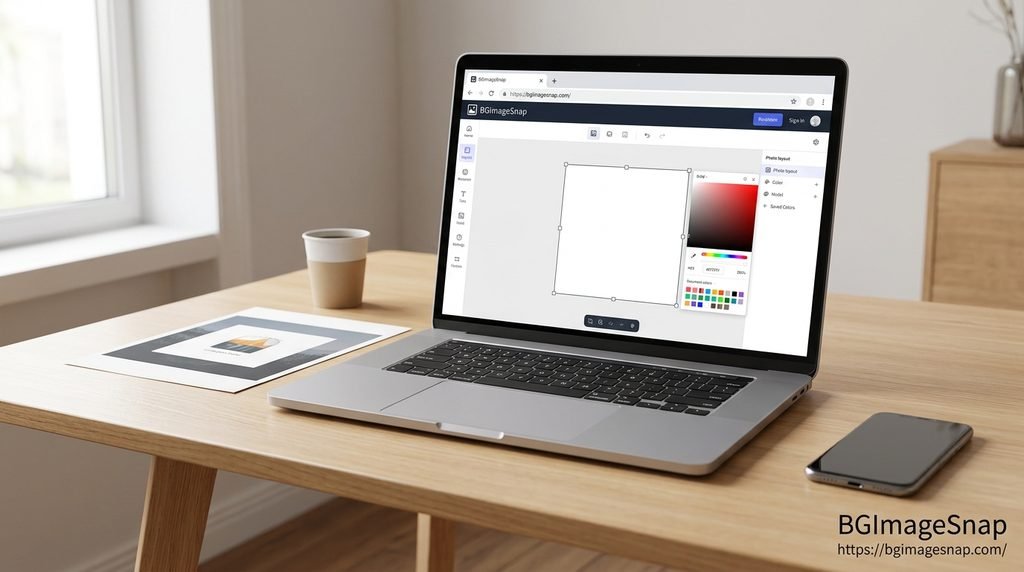
BGImageSnap is the most efficient choice for users who want instant results without creating an account. You simply upload your photo, select the 1:1 aspect ratio, and the tool automatically generates the perfect white borders.
For those interested in the technical standards of web colors, the W3C Color Module provides comprehensive guidelines on how hex codes like #FFFFFF are rendered across different browsers and devices.
Common Mistakes to Avoid
When formatting your photos, a few common errors can ruin the final result. Avoid these pitfalls to ensure your images look professional.
Using Off-White Colors
Sometimes a background might look white on your screen but actually be a light gray or cream. Always verify that your background color is set to pure white hex code #FFFFFF to ensure it blends seamlessly with the white interface of social media apps.
Stretching the Original Photo
Never stretch or compress your original image to make it fit the canvas. This distorts the proportions and makes the photo look unnatural. Always maintain the original aspect ratio and let the white borders fill the empty space.
Ignoring Image Resolution
If you start with a low resolution photo and place it on a large canvas the image will appear pixelated. Always use high quality source files. If you need to enlarge an image use dedicated upscaling tools before adding the borders.
Uneven Borders
Ensure your image is perfectly centered. If the white border is thicker on one side than the other, the final composition will look unbalanced and amateurish. Use the alignment tools in your editing software to lock the image to the center axis.
[Footer Image Placeholder]
Alt Text: A smartphone displaying an Instagram profile grid made entirely of photos with a white square border
FAQ: Your Top White Square Questions Answered
What is the best pixel size for a white square on Instagram?
The optimal size is 1080 pixels wide by 1080 pixels tall. This provides high definition clarity without exceeding the platform’s compression limits.
Can I add a white square border to a video?
Yes. Most video editing software allows you to place a vertical or horizontal video clip onto a 1:1 white background. This is highly effective for sharing cinematic footage on social feeds.
Does adding a white border reduce image quality?
No. Adding a border does not compress or alter the original pixels of your photograph. It simply adds empty space around the edges.
How do I make a white square in Photoshop?
Open Photoshop and create a new document. Set the width and height to equal values, such as 1080 pixels. Set the background contents to white. Then, drag and drop your photo onto the canvas and center it.
Why does my white background look gray on my phone?
This usually happens due to screen brightness settings or a device’s “True Tone” display feature, which warms the color temperature. The file itself is likely pure white.
Conclusion
Formatting your photos correctly is a small detail that makes a massive difference in how your content is perceived. A white square border protects your composition from aggressive cropping and gives your work a clean, gallery like presentation.
Whether you are a professional photographer, a brand manager, or a casual user, mastering this simple technique will instantly elevate your digital presence. By using the right tools and avoiding common mistakes, you can ensure every image you share looks exactly the way you intended.