Introduction
You’ve scanned a stack of documents contracts, receipts, medical records and saved them as TIFF files. Now you need to send them to a client, upload them to a portal, or file them with your accountant. But every system asks for a PDF.
You try to open them. They’re separate images. You try to combine them. Your computer freezes. You search online: “TIFF to PDF.” You click on a tool that asks for your email. Then your password. Then your credit card.
Sound familiar?
You’re not alone. TIFF is a high quality format used by scanners, medical systems, and government offices but it’s not built for sharing. PDF is. And converting TIFF to PDF doesn’t have to be complicated, expensive, or risky.
In this guide, you’ll learn exactly how to convert TIFF to PDF for free, safely, and without installing software. We’ll cover why this conversion matters, the best free tools, step-by-step methods for every device, and the one mistake 90% of people make that ruins their documents.
No fluff. No upsells. Just clear, practical steps you can use today.
Quick Answer: How to Convert TIFF to PDF for Free
Short answer:
Use a free, no signup, web based tool like BGImageSnap to convert TIFF to PDF in under 30 seconds no software, no login, no watermarks.
Key Takeaways:
TIFF to PDF conversion is free no credit card needed
Works on any device Windows, Mac, iPhone, Android
Preserves image quality no compression or blurring
Converts multiple files at once batch processing available
No registration or data storage your files are deleted after conversion
Avoid tools that ask for your email, password, or payment. Most are scams or data harvesters.
Why Convert TIFF to PDF? (And When You Should)
What Is a TIFF File?
TIFF (Tagged Image File Format) is a high resolution, lossless image format. It’s widely used in:
- Medical imaging (X-rays, MRI scans)
- Legal and government document scanning
- Archival photography
- Professional printing
It’s excellent for preserving detail but terrible for sharing.
Why PDF Is Better for Sharing
PDF (Portable Document Format) was built for universal access. It:
- Combines multiple images into one file
- Is readable on any device, even without special software
- Supports text search (if scanned with OCR)
- Can be signed, annotated, and encrypted
- Is accepted by 99% of online portals, courts, and employers
When to Convert TIFF to PDF
| Scenario | Why Convert? |
|---|---|
| Submitting tax documents | IRS and state portals require PDF |
| Emailing scanned receipts | TIFF files are too large; PDFs compress efficiently |
| Uploading to cloud storage | Google Drive, Dropbox, OneDrive handle PDFs better |
| Printing multiple pages | One PDF prints as one document no manual sorting |
| Archiving records | PDF is the industry standard for long term storage |
Rule of thumb: If you’re sending it to someone else convert it to PDF.
TIFF vs PDF: Key Differences Explained
| Feature | TIFF | |
|---|---|---|
| File Type | Image format (raster) | Document format (container) |
| Multi page Support | No (one image per file) | Yes (multiple pages in one file) |
| Compression | Lossless (no quality loss) | Can be lossless or lossy |
| Text Searchable? | No (unless OCR applied) | Yes (if scanned with OCR) |
| Editing | Editable in image editors | Editable in PDF tools (text, annotations) |
| File Size | Very large (30–100MB per page) | Smaller (5–20MB for same content) |
| Compatibility | Requires specialized software | Works on every device, browser, OS |
| Best For | Archiving, printing, medical use | Sharing, emailing, submitting forms |
Important: Converting TIFF to PDF doesn’t make your document searchable that requires OCR (optical character recognition). But it does make it usable.
5 Ways to Convert TIFF to PDF (Free & Safe)
Here are five methods ranked by safety, speed, and ease.
| Method | Best For | Pros | Cons |
|---|---|---|---|
| 1. BGImageSnap (Online Tool) | Everyone especially beginners | Free, no signup, batch support, instant download | Requires internet |
| 2. Adobe Acrobat Online | Users already in Adobe ecosystem | Trusted, high quality | Free version limits to 2 files/day; requires Adobe account |
| 3. Smallpdf (Free Tier) | Users needing extra tools | Clean interface, good UI | Free version adds watermark; limits to 2 conversions/day |
| 4. Windows “Print to PDF” | Windows users with single files | No third party tool needed | Only converts one TIFF at a time; no batch |
| 5. Preview (Mac) | Mac users with few files | Built in, no install | No batch; clunky for multiple files |
Avoid These:
- Online converters that ask for your email they sell your data.
- Desktop software that installs toolbars often bundled with malware.
- Mobile apps that require permissions many harvest your photos.
Our Recommendation: Use BGImageSnap. It’s the only free tool that’s truly private, fast, and handles multiple files without limits.
Step-by-Step: Convert TIFF to PDF Using BGImageSnap
BGImageSnap lets you convert TIFF to PDF in three simple steps no download, no login, no ads.
Step 1: Visit the Tool
Go to: https://tiff2pdf.com/
You’ll see a clean interface with one box: “Drop your TIFF files here or click to upload.”
Step 2: Upload Your Files
- Click the box or drag and drop one or more TIFF files from your computer or phone.
- Supported formats:
.tiff,.tif - You can upload up to 20 files at once.
Step 3: Download Your PDF
- The tool automatically combines all files into a single PDF.
- Wait 5–15 seconds.
- Click “Download PDF”.
- Done.
Your files are deleted from our servers within 1 hour. We don’t store, track, or share anything.
Pro Tip: Order Your Pages
If your TIFF files are out of order, rename them before uploading:
page_01.tiffpage_02.tiffpage_03.tiff
The tool will combine them in numerical order.
How to Combine Multiple TIFF Files into One PDF
Many people try to convert one TIFF at a time then manually merge them. That’s slow. And error prone.
Here’s how to do it right:
On Windows:
- Open File Explorer.
- Select all your
.tifffiles (hold Ctrl and click). - Right click → Print.
- Choose Microsoft Print to PDF as the printer.
- Click Print → Save as one PDF.
Limitation: This method doesn’t preserve the original order. Files are sorted alphabetically so
image_10.tiffcomes beforeimage_2.tiff.
On Mac:
- Open all TIFF files in Preview.
- Click View → Thumbnails.
- Drag thumbnails into the correct order.
- Click File → Export as PDF.
Limitation: You can’t do this if you have 15+ files Preview crashes.
Common Mistakes to Avoid
Mistake #1: Using “Free” Tools That Ask for Your Email
Why it’s dangerous:
These tools collect your data, then sell it to marketers or use it to send spam. Some even install hidden malware.
Fix: Only use tools with no registration required. BGImageSnap doesn’t ask for anything.
Mistake #2: Converting Without Checking File Order
Result: Your contract pages appear out of sequence. Your invoice is page 7. Your signature is on page 12.
Fix: Rename your files numerically before uploading (01.tiff, 02.tiff, etc.).
Mistake #3: Assuming PDF = Text-Searchable
Reality: A TIFF converted to PDF is just a picture of text. You can’t copy, search, or highlight words.
Fix: If you need searchable PDFs, use an OCR tool like Adobe Acrobat Pro or free alternatives like OnlineOCR.net after converting to PDF.
Mistake #4: Saving TIFFs with Compression
Some scanners save TIFFs as LZW or ZIP compressed. While this saves space, it can cause errors during conversion.
Fix: If your PDF looks corrupted, try re scanning the document as uncompressed TIFF.
Mistake #5: Ignoring File Size
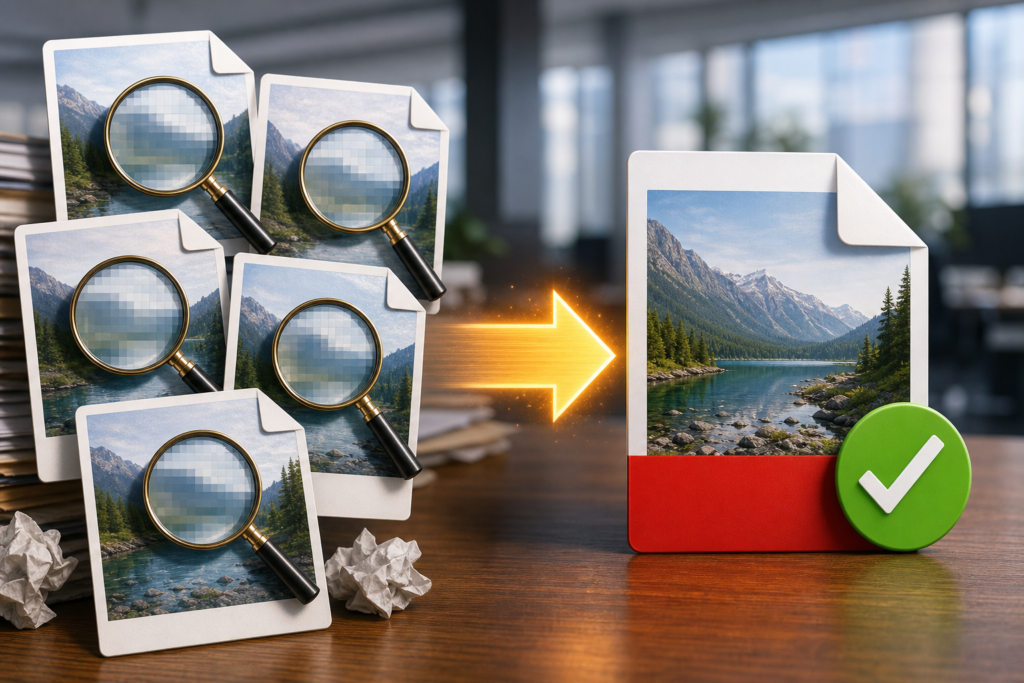
A 10 page TIFF document can be 500MB. A converted PDF might be 5MB.
Why it matters: Email servers often block files over 25MB.
Fix: Always convert TIFF to PDF before emailing. It shrinks your file size by 80–95%.
FAQ: Your Top TIFF to PDF Questions Answered
1. Is it really free to convert TIFF to PDF?
Yes. Tools like BGImageSnap offer completely free TIFF to PDF conversion with no hidden fees, watermarks, or limits. You don’t need to pay or sign up.
2. Can I convert TIFF to PDF on my phone?
Yes. Open your browser on iPhone or Android, go to https://tiff2pdf.com/ , tap to upload your files, and download the PDF. Works on all mobile browsers.
3. Does converting TIFF to PDF reduce image quality?
No if you use a quality tool. BGImageSnap preserves the original resolution. Avoid tools that “optimize” or “compress” they blur text and details.
4. Can I convert scanned documents (like receipts) from TIFF to PDF?
Yes. Scanned receipts, forms, and invoices saved as TIFF can be converted to PDF for easy filing, emailing, or uploading to tax software.
5. How many TIFF files can I convert at once?
BGImageSnap allows up to 20 TIFF files per conversion. For more, split into batches.
6. Is it safe to upload sensitive documents (like medical records)?
Yes if you use a trusted tool. BGImageSnap deletes all uploaded files within 60 minutes. No logs. No tracking. No data retention. Always verify privacy policies.
7. Why does my PDF look blurry after conversion?
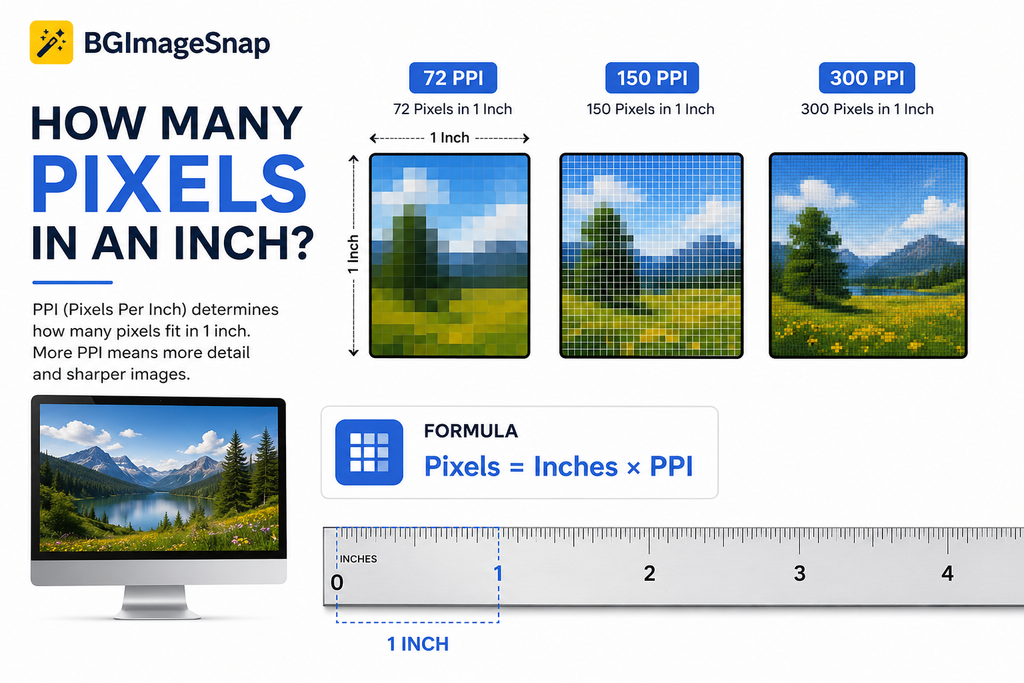
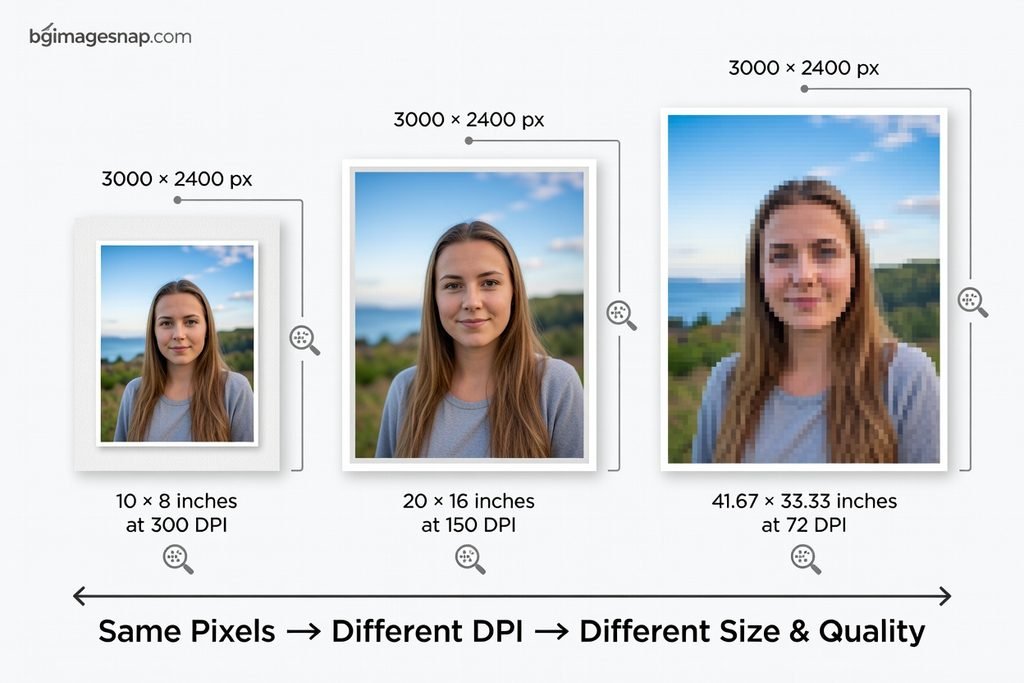
This usually means the original TIFF was low resolution (under 300 DPI). TIFF files should be scanned at 300–600 DPI for best results. If the source is poor, no tool can fix it.
8. Can I convert TIFF to PDF without internet?
Only if you install software. But we don’t recommend it most desktop tools are bloated, unsafe, or paid. For occasional use, online tools are safer and faster.
Conclusion: Simple, Secure, and Stress-Free
Converting TIFF to PDF isn’t about tech skills it’s about choosing the right tool. You don’t need Adobe. You don’t need to install software. You don’t need to risk your data. All you need is a browser and a tool like BGImageSnap that respects your time, your files, and your privacy.
Whether you’re a student submitting assignments, a small business owner filing invoices, or someone managing medical records converting TIFF to PDF should be effortless. Stop wrestling with fragmented files. Stop trusting sketchy websites. Start using a tool that just works.